How to Install LED Lighting: A Step-by-Step Guide


Understanding LED Lighting
LED lighting has become increasingly popular due to its energy efficiency, long lifespan, and versatility. If you're considering upgrading to LED lighting in your home or office, you're making a wise choice. Not only will you save money on energy bills, but you'll also enjoy the benefits of brighter and more consistent lighting. This guide will walk you through the process of installing LED lights step by step.
Gathering Necessary Tools and Materials
Before you begin the installation process, it's important to gather all the necessary tools and materials. You'll need LED bulbs or strips, a measuring tape, a screwdriver, wire connectors, and possibly a ladder if you're installing ceiling fixtures. Ensuring you have the right equipment on hand will make the process smoother and more efficient.
Choosing the Right LED Lights
When selecting LED lights, consider the purpose of the lighting and the ambiance you wish to create. LED lights come in various colors and brightness levels. For example, warm white LEDs can create a cozy atmosphere, while cool white LEDs are ideal for task lighting in kitchens or workspaces. Make sure to check the lumens and wattage to ensure they meet your requirements.
Preparing for Installation
Safety should always be a priority when working with electrical components. Before you start, turn off the power supply to the area where you'll be installing the lights. Use a voltage tester to confirm there's no electricity running through the wires. It's also advisable to wear safety goggles and gloves during the installation process.

Removing Existing Fixtures
If you're replacing old lighting fixtures, you'll need to remove them before installing the new LED lights. Start by unscrewing any screws holding the fixture in place and gently pull it away from the wall or ceiling. Carefully disconnect any wiring and set aside the old fixture.
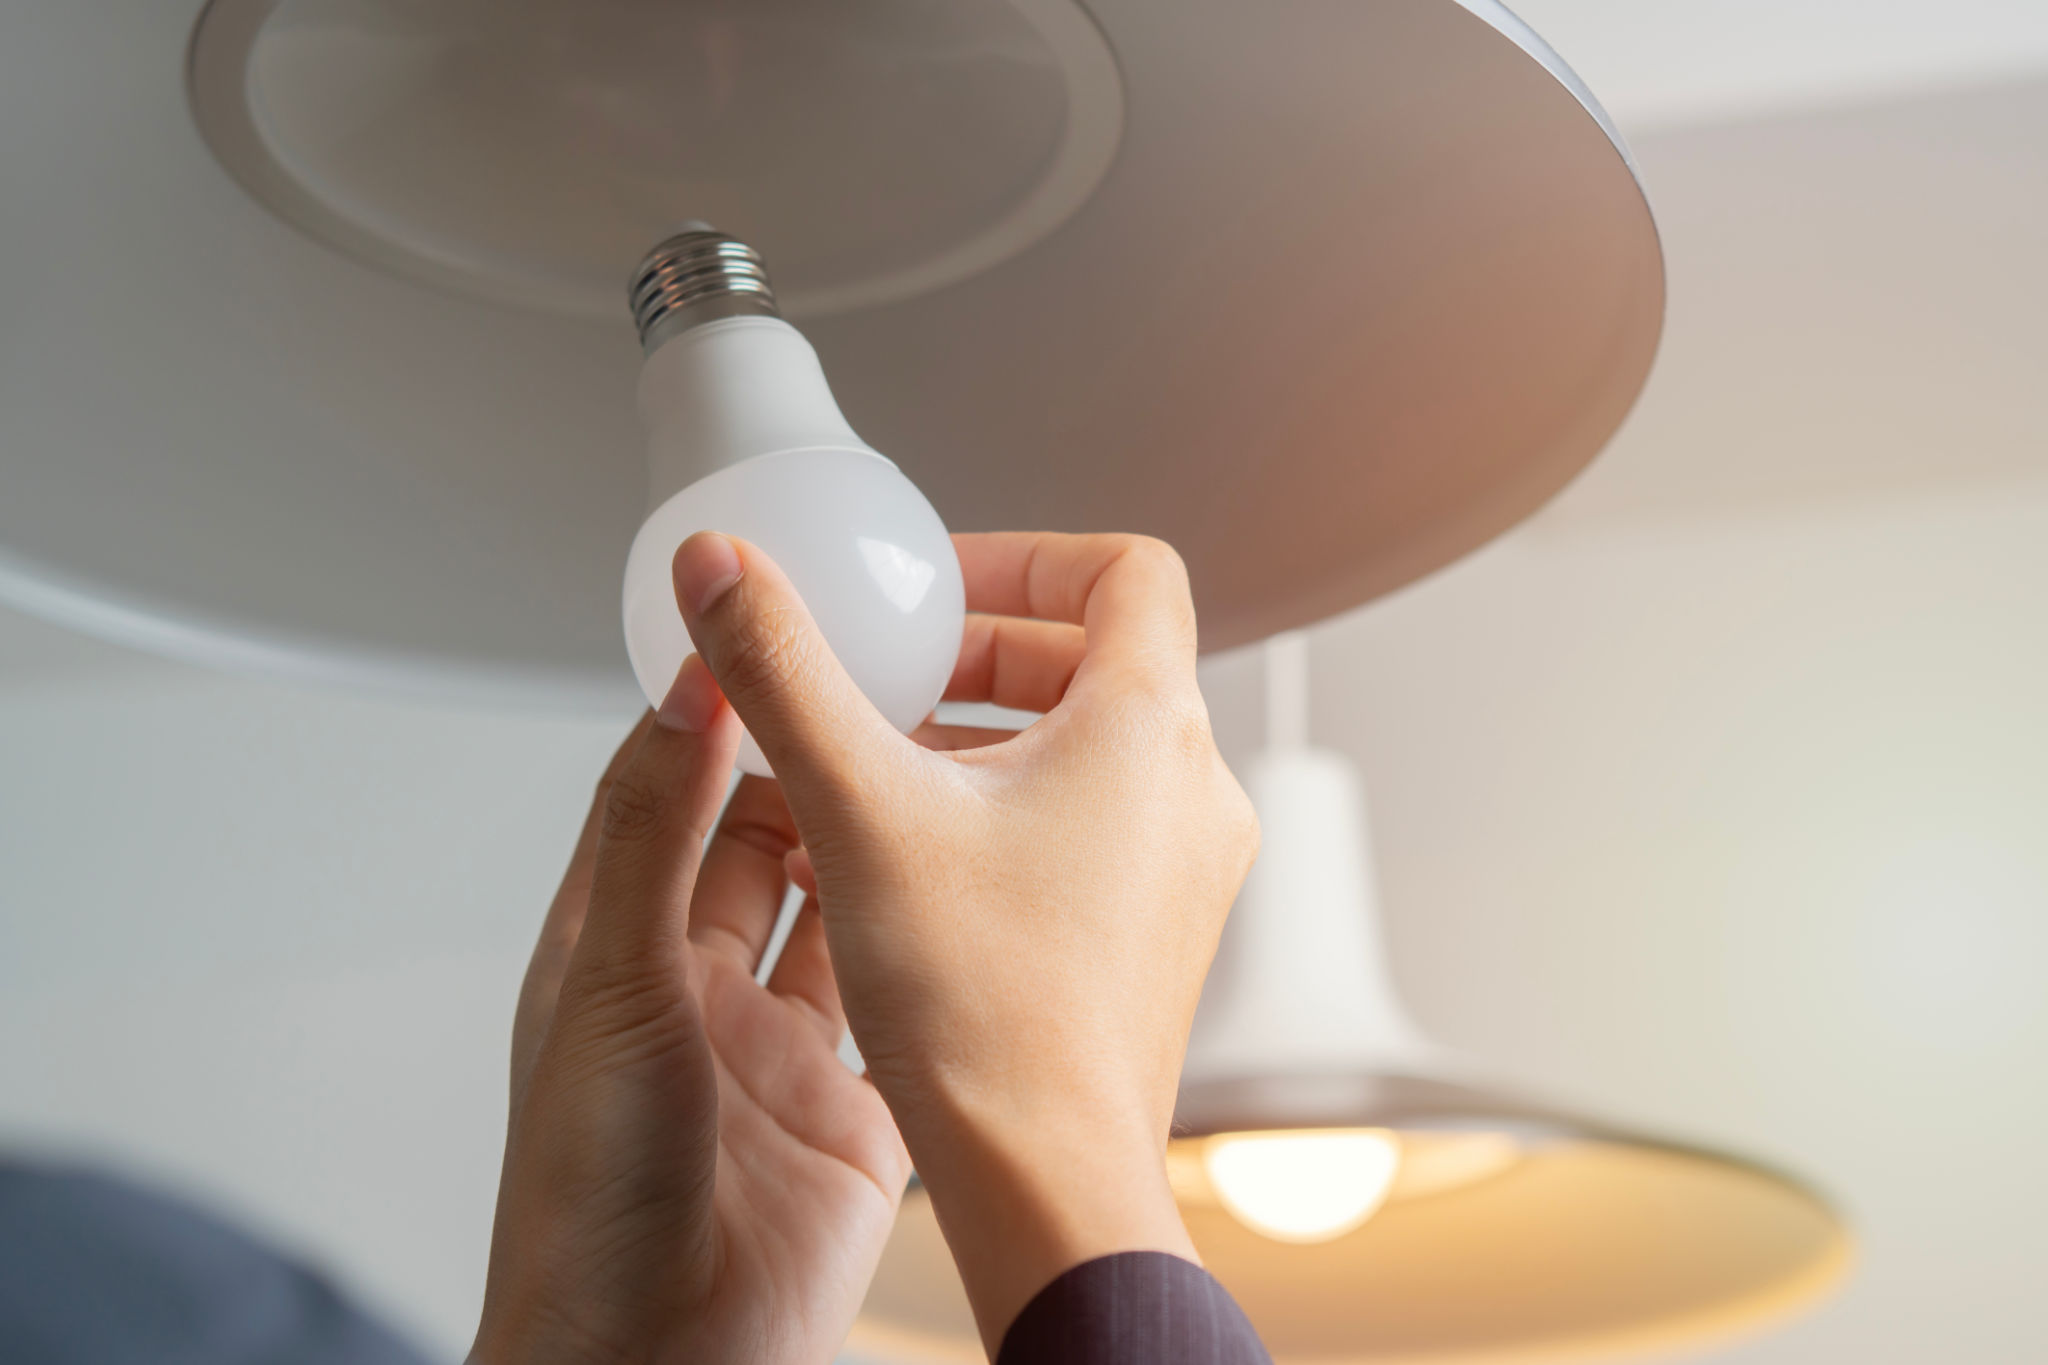
Installing the LED Lights
Once the old fixtures are removed, you can begin installing your new LED lights. Follow these steps:
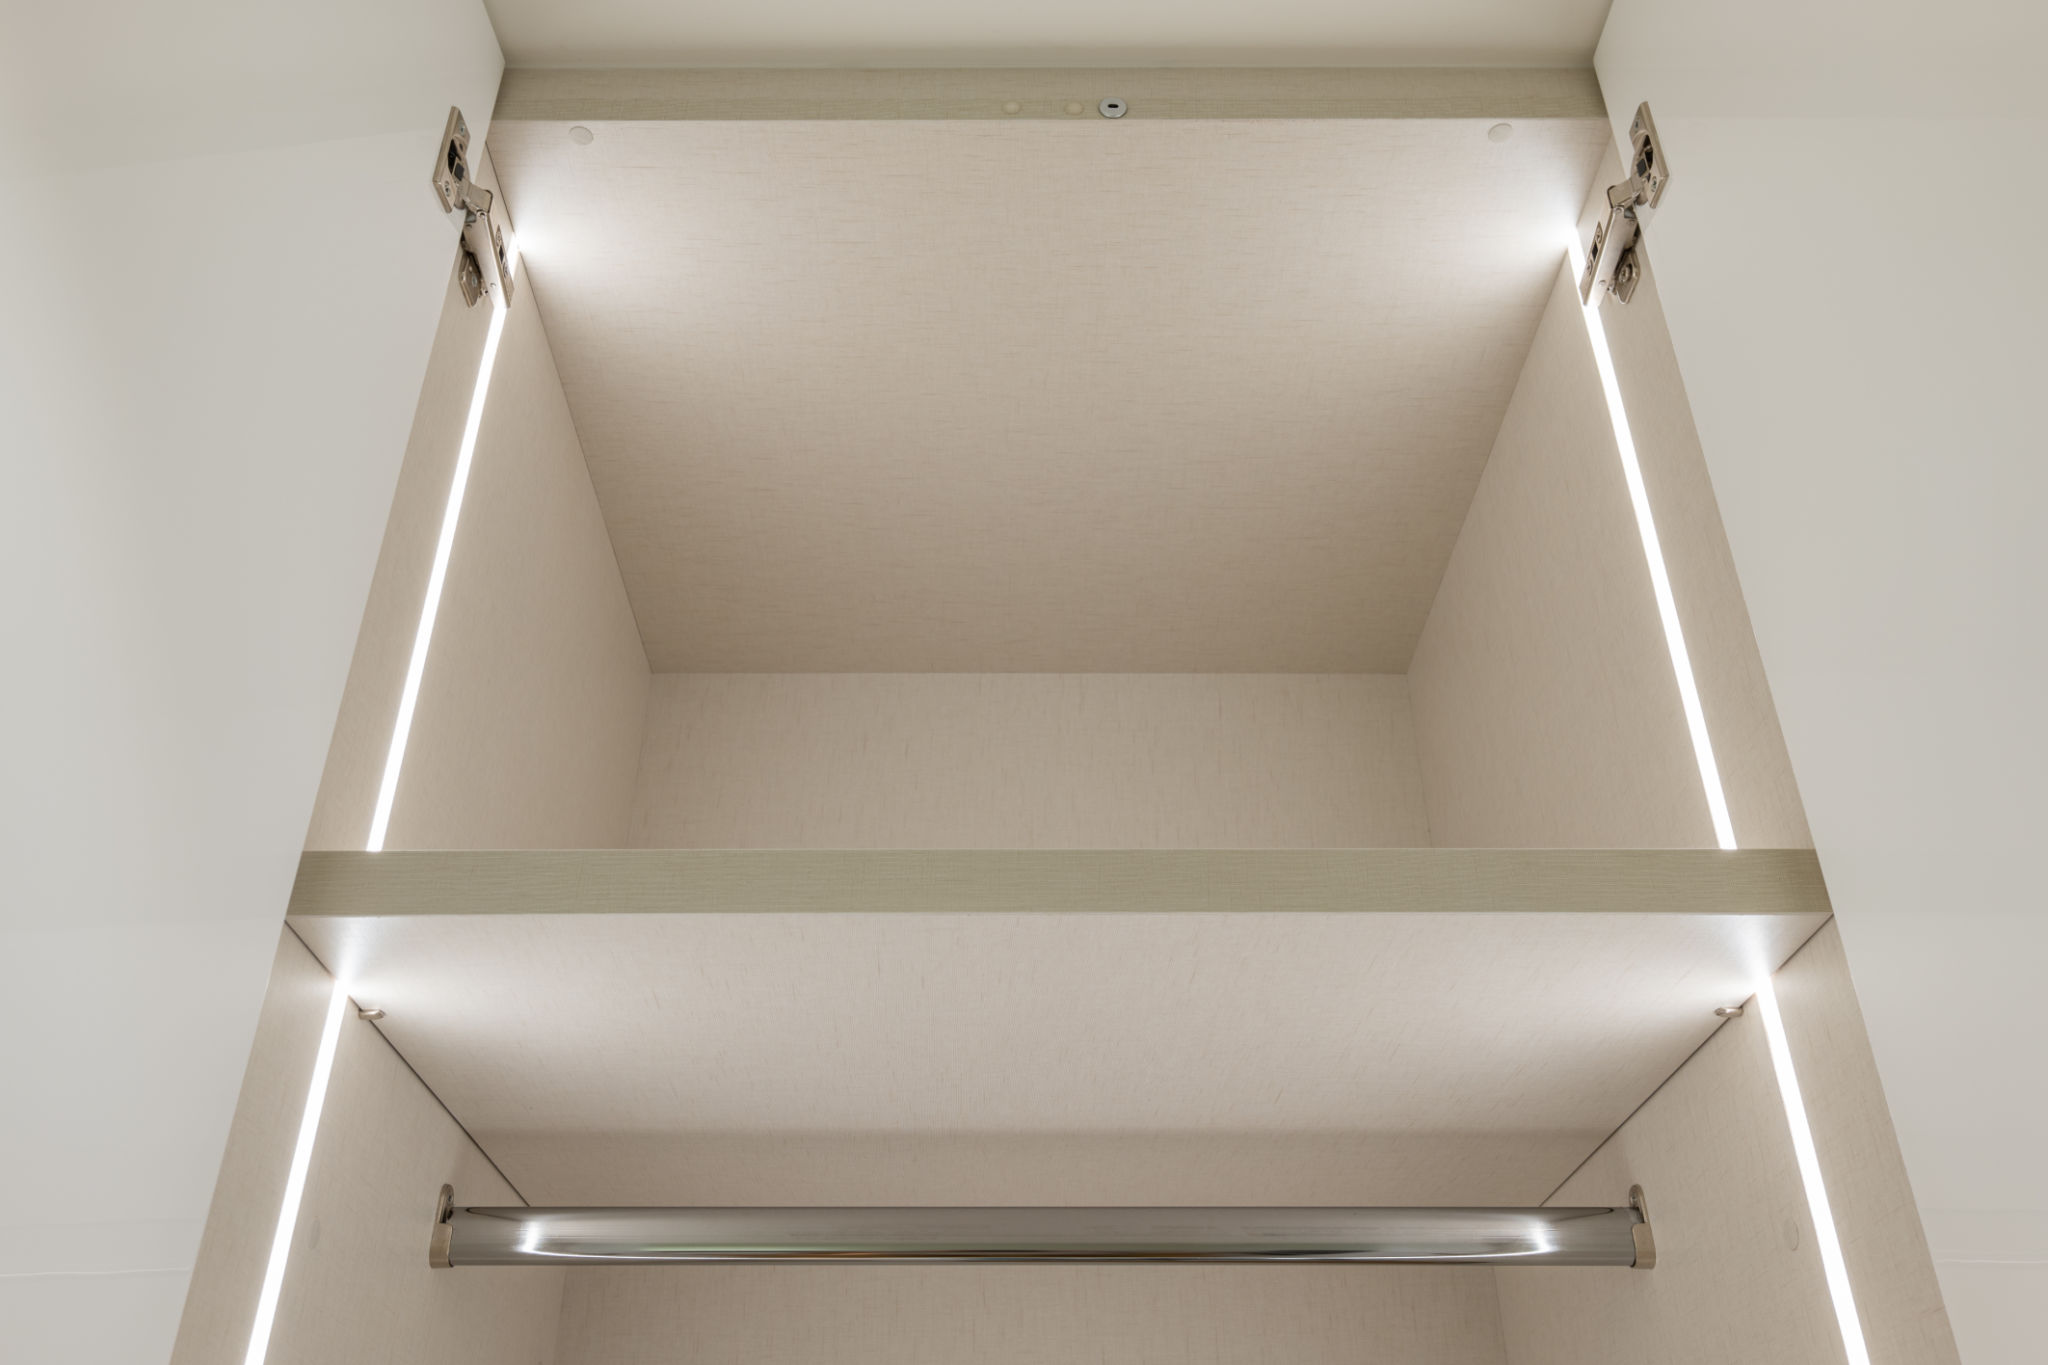
- Mounting: If you're installing LED strips, use adhesive backing to secure them in place. For bulbs, ensure they fit snugly into the socket.
- Wiring: Connect the wires from your LED lights to the existing wiring using wire connectors. Match the colors: black to black (or red), white to white, and green or bare for ground.
- Securing: Use screws or clips to secure any loose wires and ensure everything is tightly connected.
Testing Your New Lights
After installation, it's crucial to test your new LED lights to ensure they work correctly. Turn on the power supply and check if the lights illuminate as expected. If they don't turn on, double-check your wiring connections and ensure everything is securely fastened.
Troubleshooting Common Issues
If you encounter any issues during testing, here are a few troubleshooting tips:
- No light: Ensure all connections are secure and that the power supply is on.
- Flickering: This may indicate a loose connection or a voltage issue.
- Dim lighting: Check if the dimmer switch is compatible with LED lights.
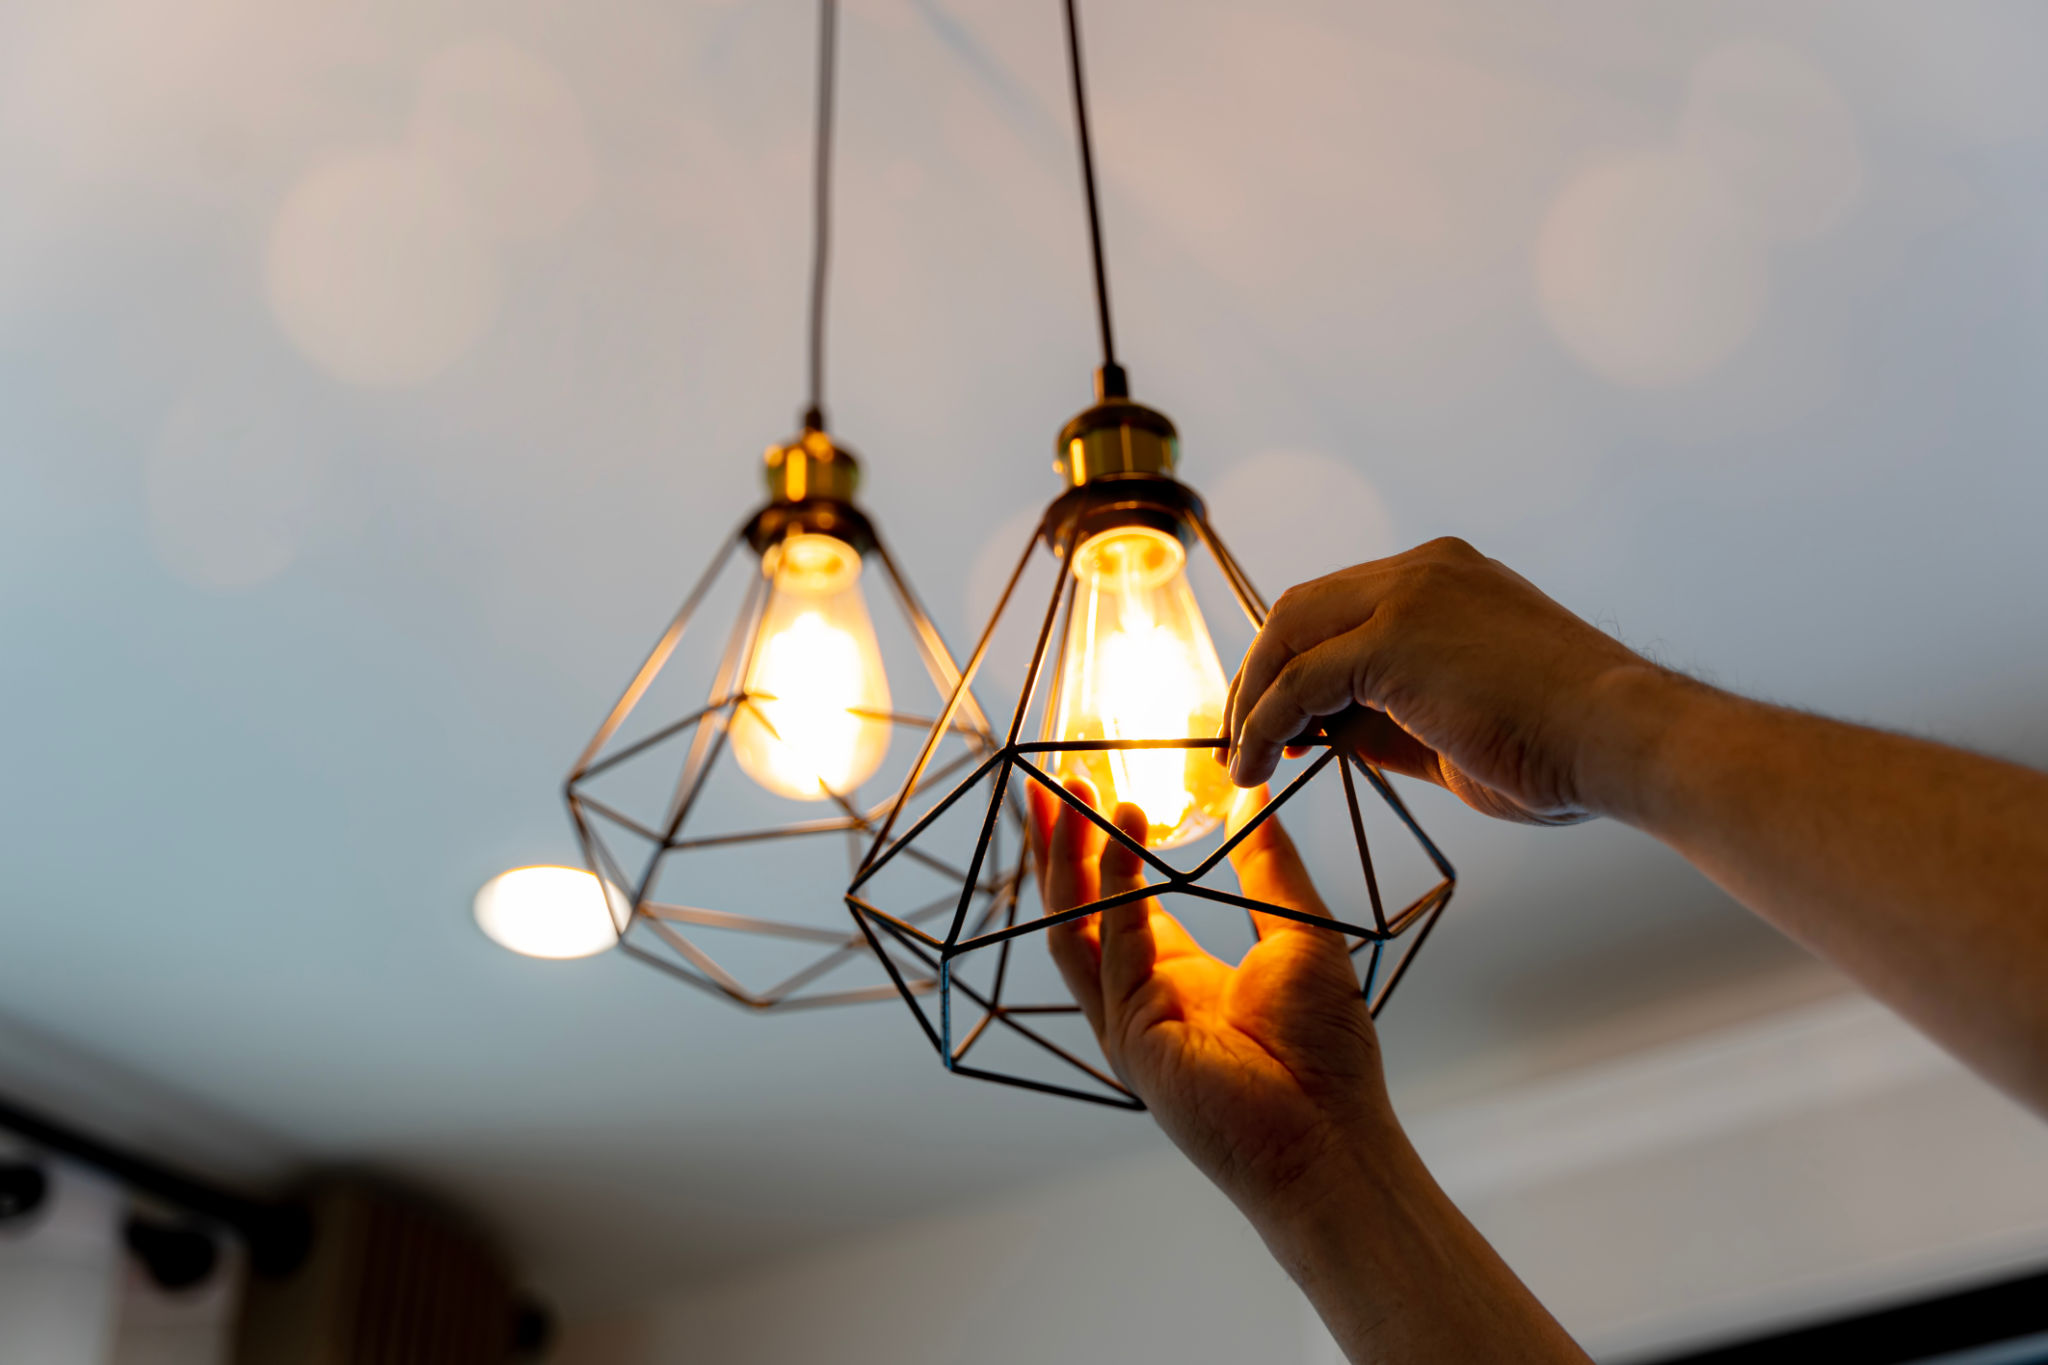
Enjoying Your New LED Setup
With your new LED lights installed and functioning properly, you can now enjoy all their benefits. LEDs provide not only energy efficiency but also offer a wide range of customization options for color and brightness. Whether you're reading, cooking, or relaxing, your new lighting setup will enhance your experience.
In conclusion, installing LED lighting is a straightforward process that offers many advantages. With proper preparation and attention to detail, you can easily upgrade your lighting system and enjoy the many benefits LEDs provide. Happy lighting!